|
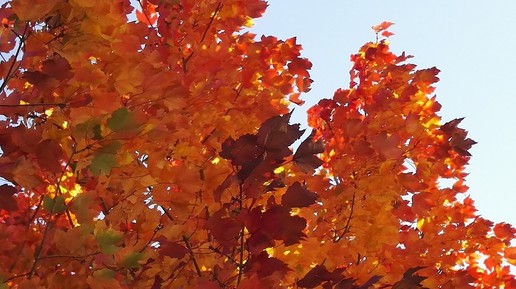
Autumn has arrived here in New Zealand, and it is beautiful. This is the tree just outside our house; I don't think I have ever seen such vibrantly coloured leaves.
Walking among the fallen leaves, I can't resist picking up handfuls and throwing them in the air then watching them tumble down like confetti.
Just for fun I decided to collect some of the most brightly coloured specimens and spend the day playing around with them. These are just a few pictures. First I just spent time looking at them closely, arranging them in different ways. 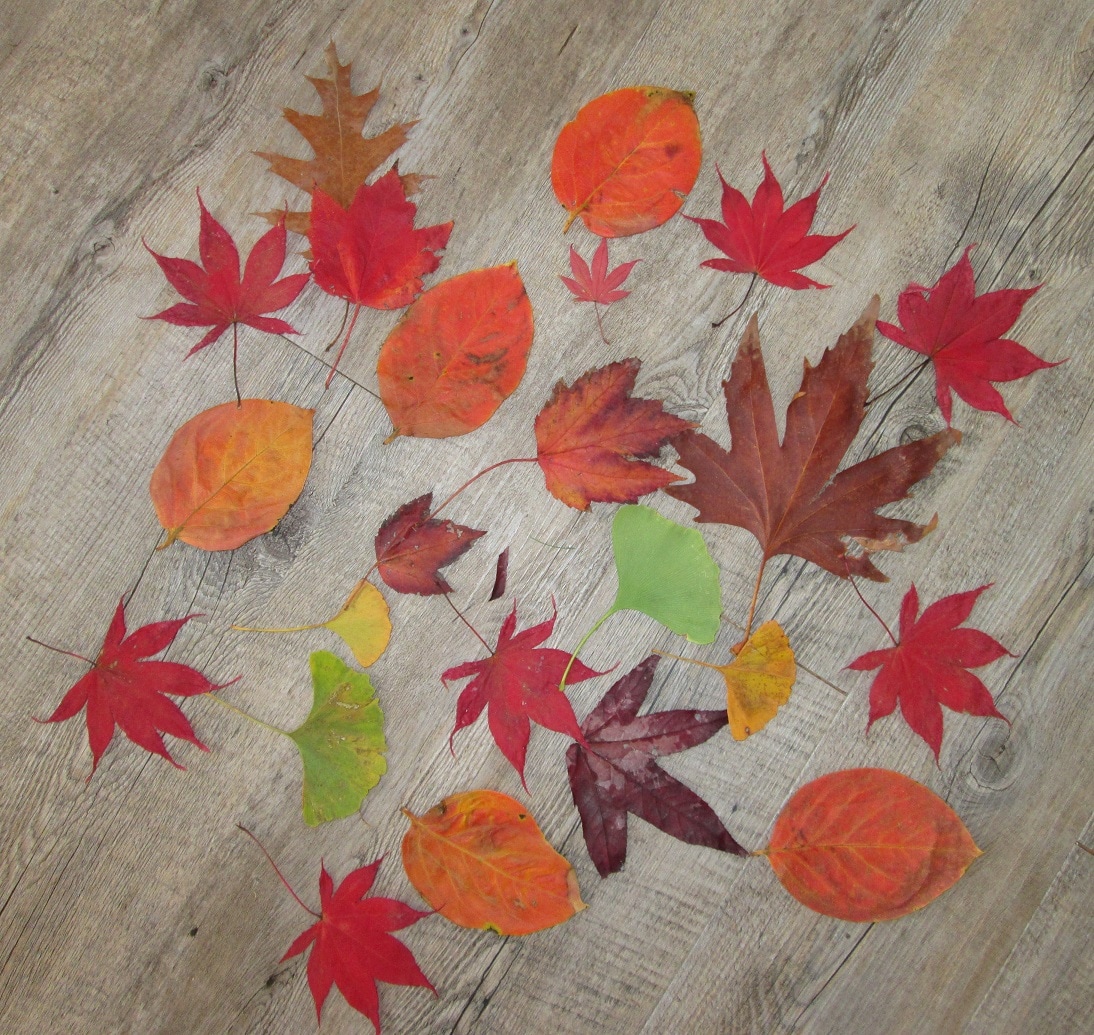
I spread them randomly on the floor
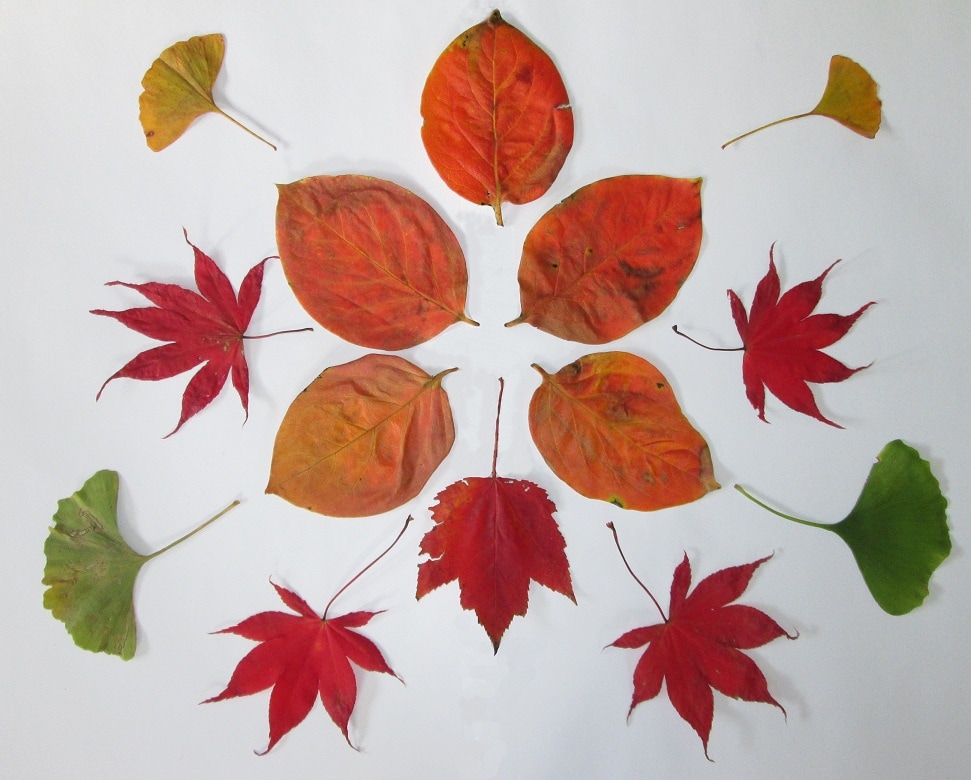
made more formal arrangements

Persimmon leaves are slightly waxy and have the most amazing variety of orange hues
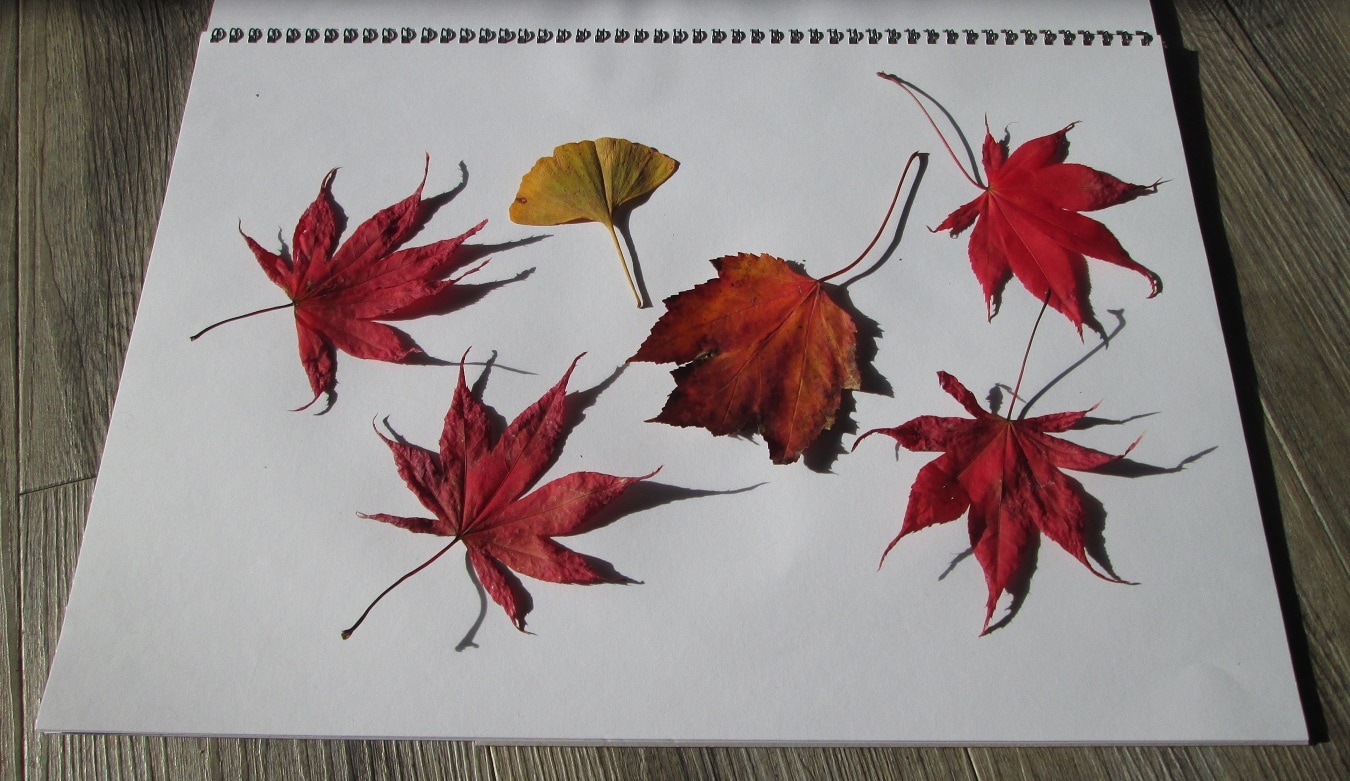
I like the shadows cast by the low sun
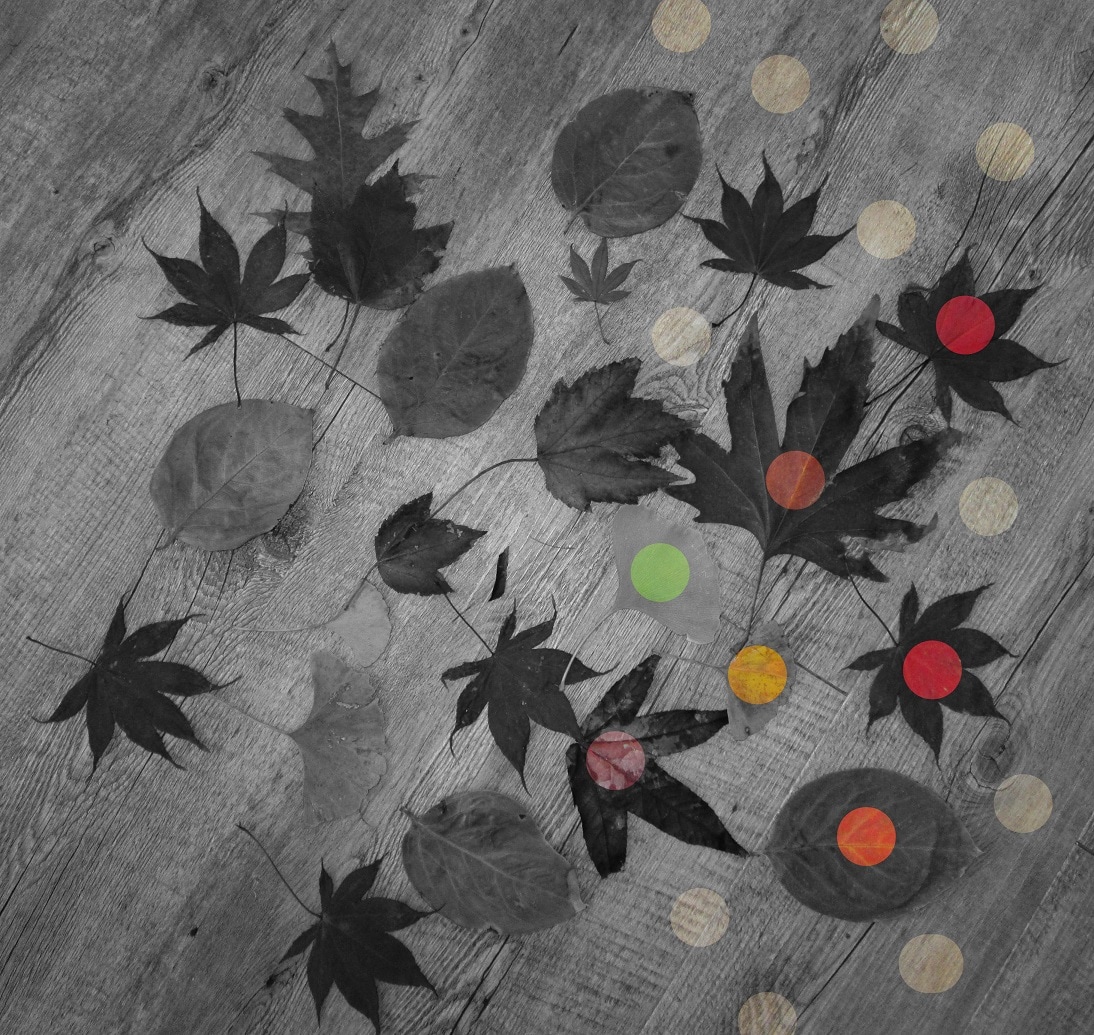
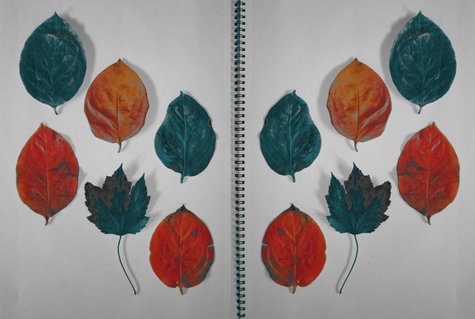
I took photos and played around, creating layers using GIMP - the free version of Photoshop. It is so easy to experiment in ways that would be so difficult to do without such software. 
Cropping and rotating
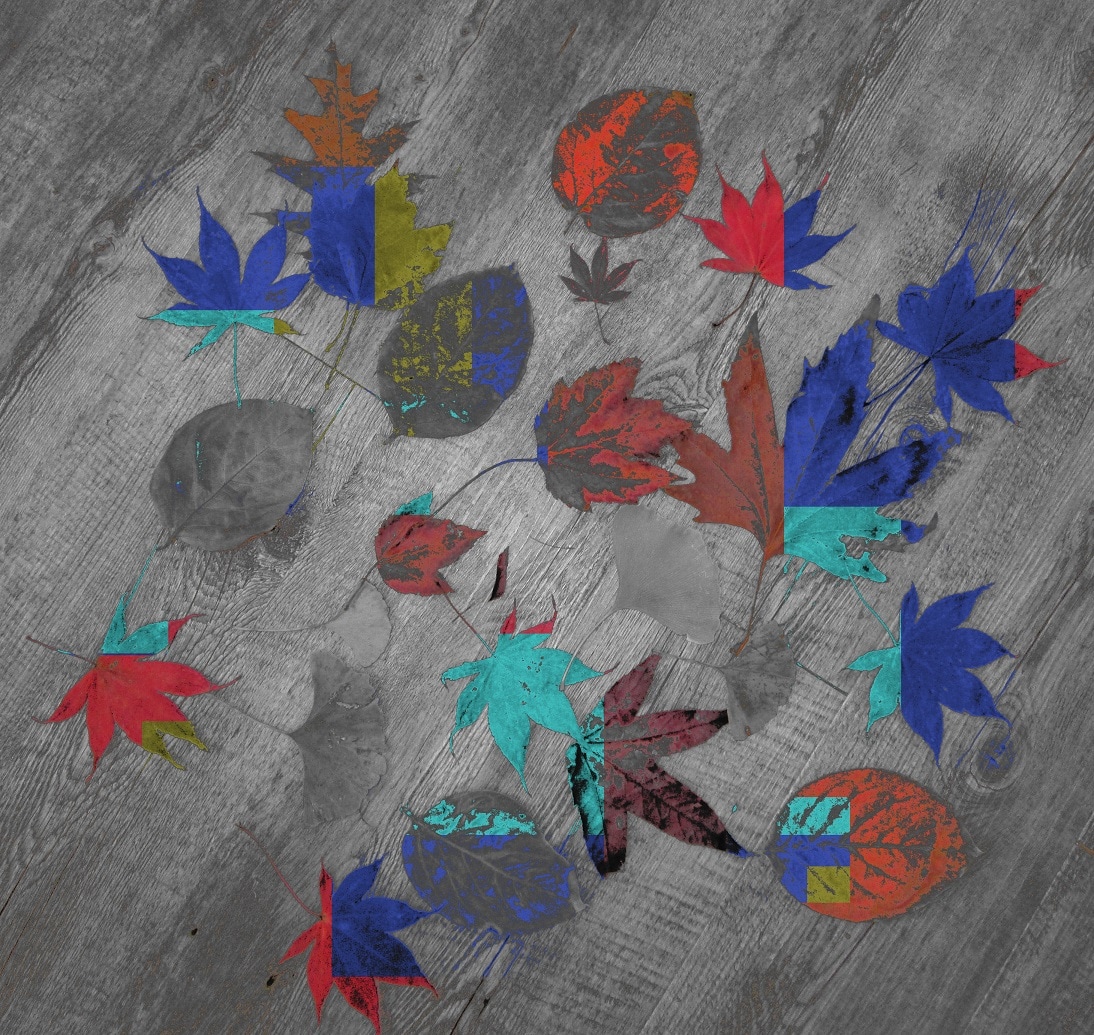
Shifting colours
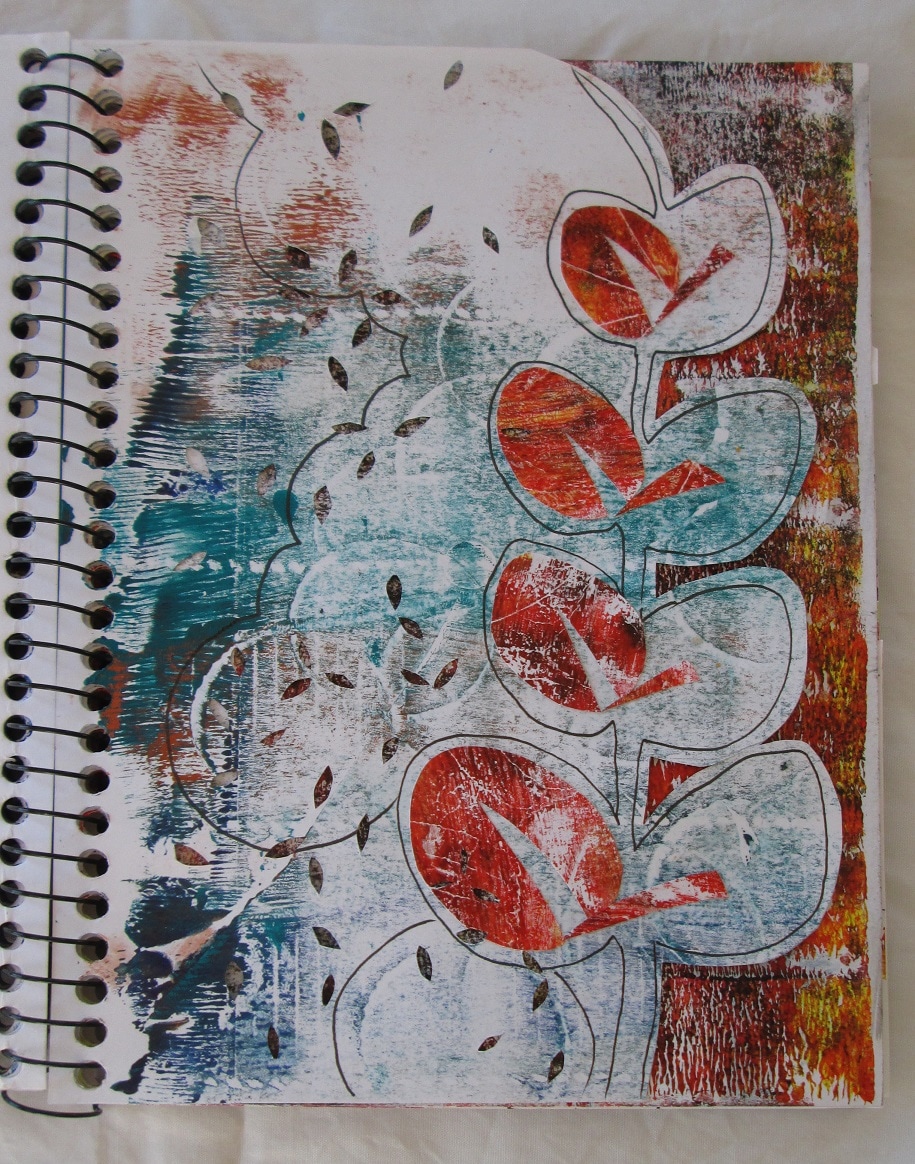
Then I moved on to working in a sketchbook with acrylic paint, a fine black pen and a craft knife

And finally I stitched a few bundles of leaves together. Whilst they are soft and supple it wasn't too difficult. They are now under a heavy weight to try and keep them flat whilst they dry out. I have no idea what will happen to them!
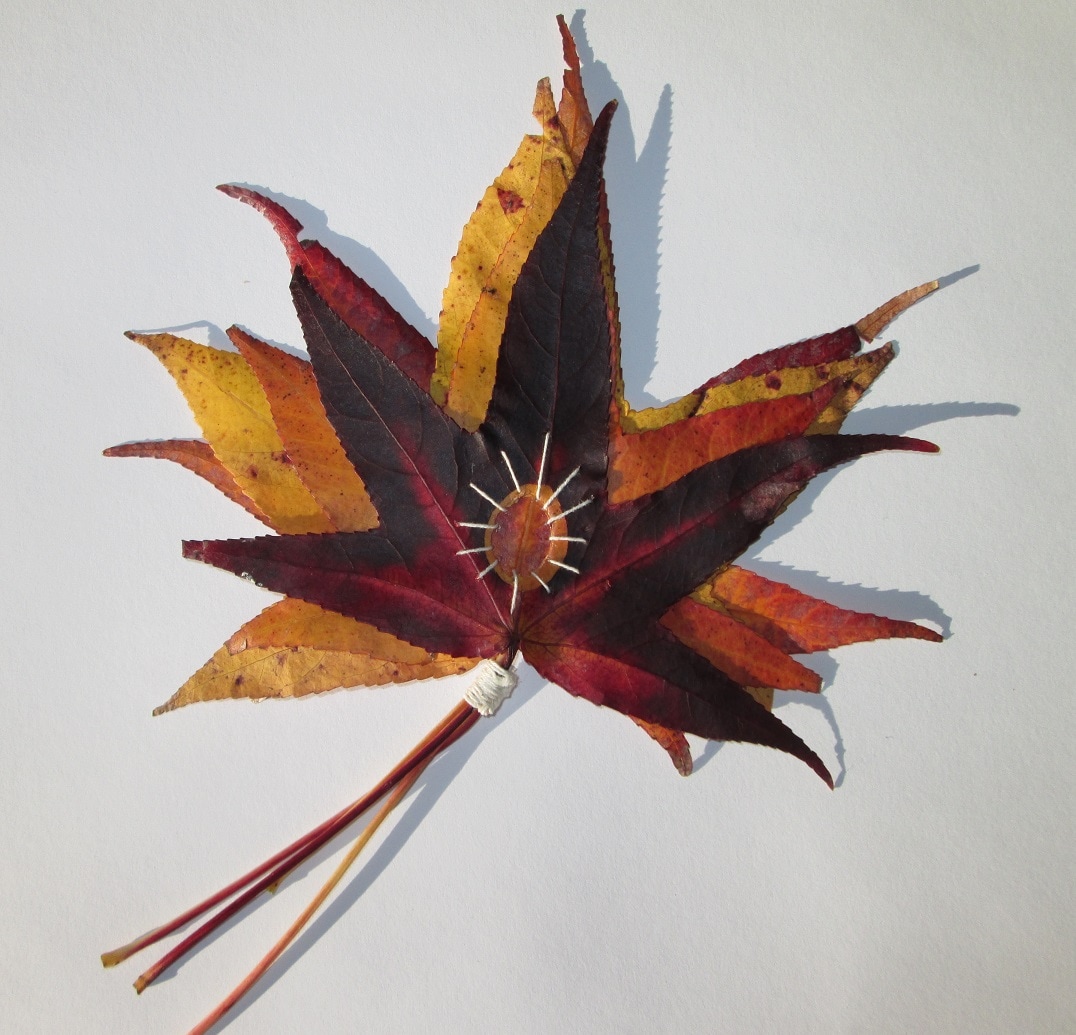
A few simple stitches hold a little bundle of leaves together
I have no plans for any of this,but sometimes it is nice to do something for no good reason!
Thanks for reading.
|


|