|
One week on and this is the progress I have made. It took a lot of thinking about how I want the finished quilts to look. The last group of faces I made were mostly colourless, or very lightly coloured. For these quilts I decided I want to add a new dimension, and colour is going to be my focus.
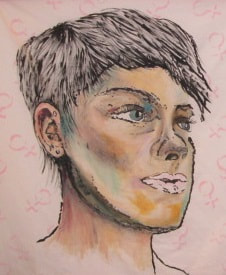
Over this past week I have spent a lot of time trying different colour palettes; from realistic to complete fantasy. The image above is what I have decided to go for. It is interesting that in this photo they left eye does not work well, yet when I look at the quilt top it seems fine. I need to find out what is going on, and if necessary make some changes.
I have never really painted a large face with colour before, and I knew I would need to mix a lot of different tints and values so I could give contour and definition to the face . As you can see, the style I have chosen is not exactly 'realistic'.
This is what I did.
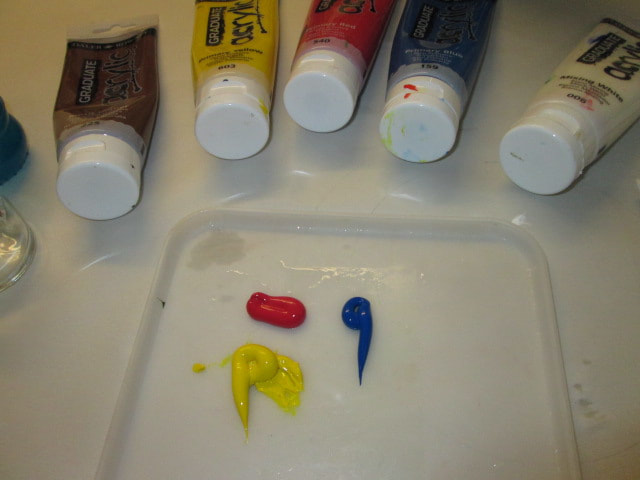
Like your art teacher probably used to tell you - start with primary colours.
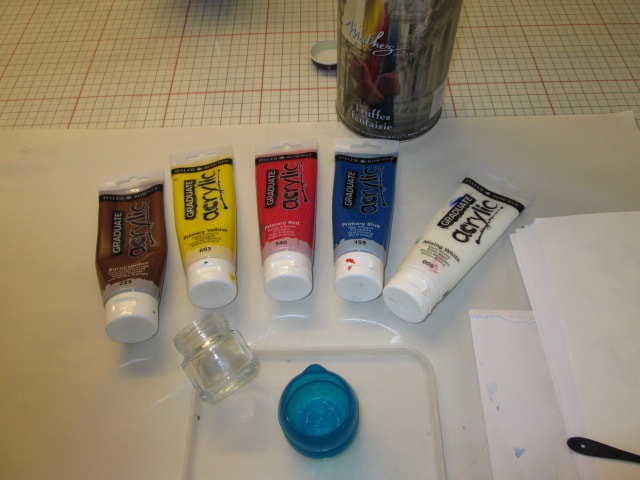
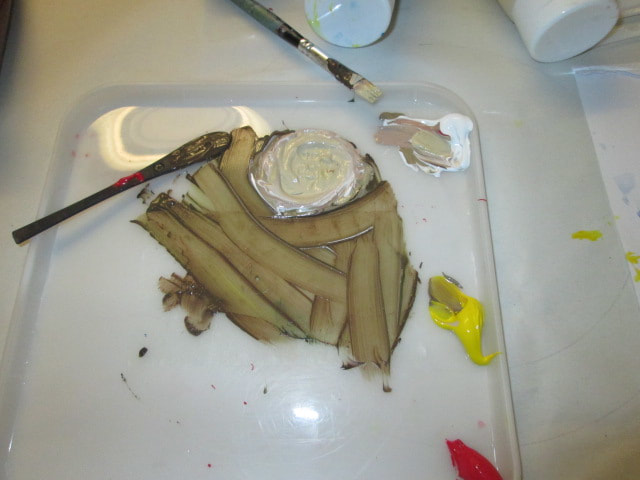
The paints I used are Daler Rowney Graduate acrylic paints mixed with a little Berol fabric medium. Nothing fancy, but not the budget type of acrylic either. I started with Primary red, blue and yellow. I also used mixing white a bit later. (I didn't use the brown that is in the photo at all.)
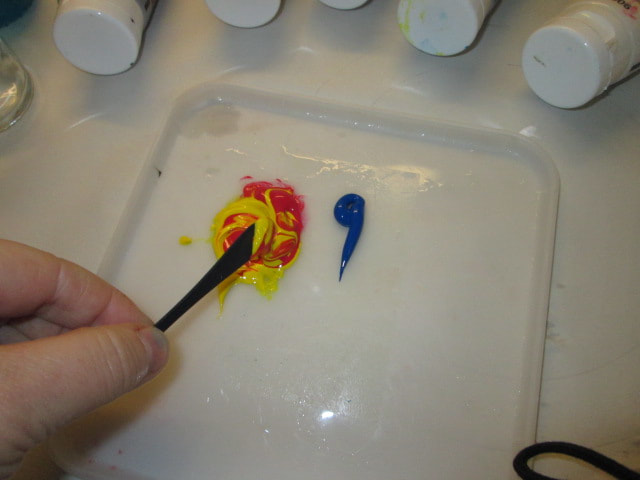
I used these 3 colours to create a base colour from which I made all the other tints. I began by mixing equal quantities of each colour, but ended up with a sludgy grey yuk. After some trial and error I ended up using 2 parts yellow, 1 part red and 2/3 part blue to yield a dark brownish yuk. I made a small jar of this to use as my base.
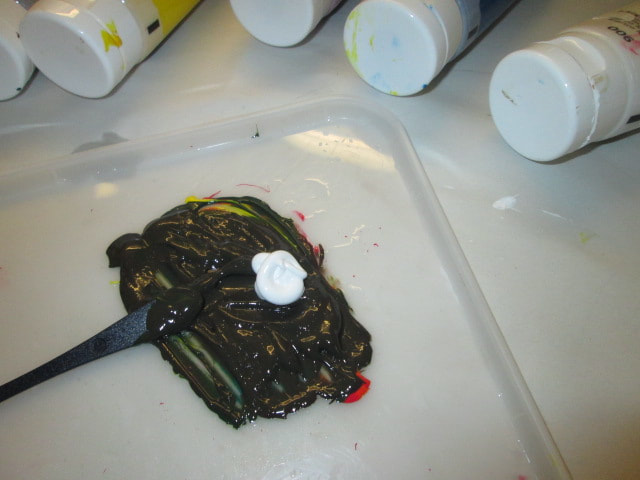
This is the yuk that turned out to be perfect when mixed with various amounts of white.
I made a (not terribly accurate) record of my mixing in my sketchbook, as you can see below. 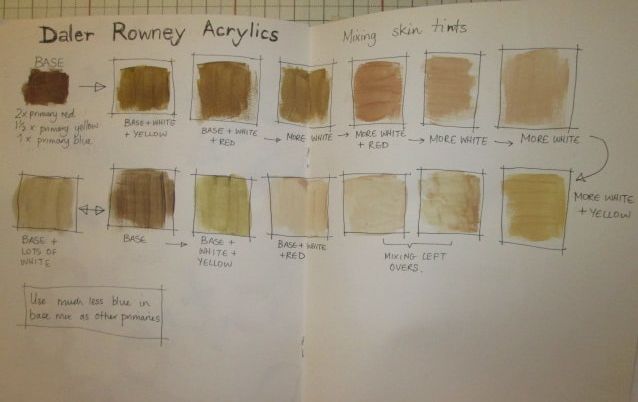
Using just the dark yuk to start, by adding small amounts of white, red, yellow or blue as I worked I was able to paint each part of the face with different values and tints. I also took a photograph of my own face to use as a value reference which proved to be very helpful. This is how my paint palette looked at the end of the day. 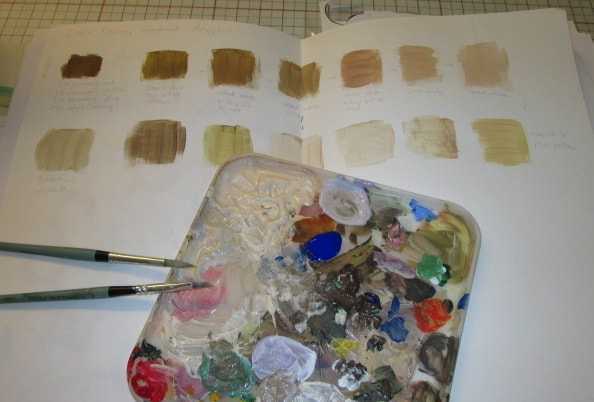
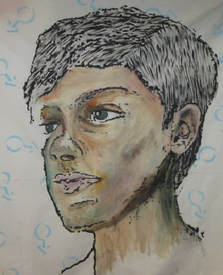
I had intended taking lots of photos as I worked, but unfortunately I got so engrossed with it all that this is the only photo I took before it was finished. You can see form this image I started by adding the lightest values around the eyes first.
And this is how both faces look now.
And now the project continues - next stage - how shall I quilt them????? Thanks for reading.
|


|