CLAIRE PASSMORE blog

Getting back to 'work'

30/10/2017

 
After a long break from actually making anything I have finally got down to work. It isn't easy getting started again though. I have at least one large quilt that I want to make based on copper metal - more work for my Stitched Alchemy series which I am hoping to exhibit next year  in the Contemporary Quilters West 'Unfolding Stories 3' exhibition (more on that in another post).
The fabric I have dyed isn't saying much to me at the moment, and despite lots of trials and stitching of different pieces together nothing much has worked.........yet. I have several ideas which I need to allow to develop and if I try to rush things it just isn't going to work. My design walls have lots of different fabrics pinned in all sorts of combinations and sketches and ideas are all over the place. The studio looks, quite frankly, a mess! 
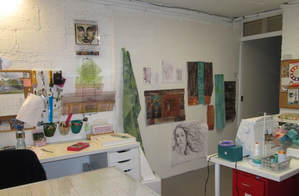
Picture

S​o, although it feels a little like a diversionary activity today I decided to make something completely different. I think if I take time 'off' from the serious stuff it might just allow some space in my mind's eye for more ideas to develop, (well, I hope so).

I was inspired by the ladies of Hardy Quilters with whom I spent a lovely day last week teaching my workshop Surface Design Techniques 2. We had a great day designing, creating and then using print blocks and when I arrived home I was in the mood to create something in the same way. I have added a selection of images at the end of this blog post so you can see some of the beautiful fabrics the ladies created on the day. 

As it is Halloween I decided to take that as my theme

                           
I've noticed that so called 'sugar skulls', more correctly called La Calavera Catrina, have become a popular image used in Halloween costumes and decorations. I did a little research and found out some interesting things about these unusual decorative skulls.

Wikipedia tells me that La Calavera Catrina ('Dapper Skeleton' or 'Elegant Skull') is a 1910–1913 zinc etching by famous Mexican printmaker José Guadalupe Posada. The image depicts a female skeleton dressed only in a hat befitting the upper class outfit of a European of her time. Her chapeau en attende is related to European styles of the early 20th century. She is offered as a satirical portrait of those Mexican natives who, Posada felt, were aspiring to adopt European aristocratic traditions in the pre-revolution era. She, in particular, has become an icon of the Mexican Día de Muertos, or Day of the Dead. (Click here to visit the Wikipedia page)
​
Picture
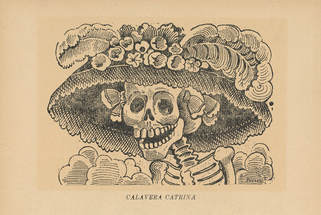
By José Guadalupe Posada

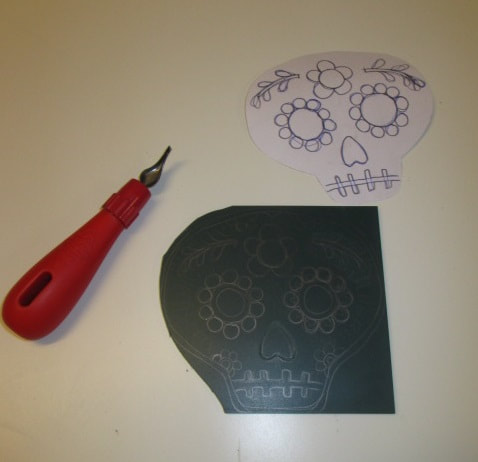
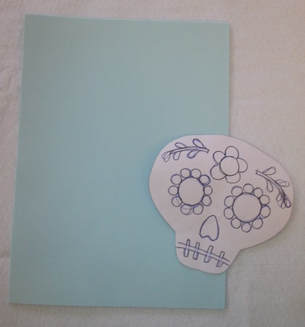
I thought I would make my own simple version of La Calavera Catrina to make some prints on fabric and then use the fabric to make something. I began by drawing a simple skull shape to use as a pattern.
Picture
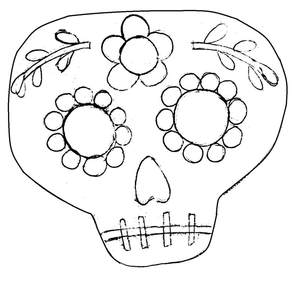
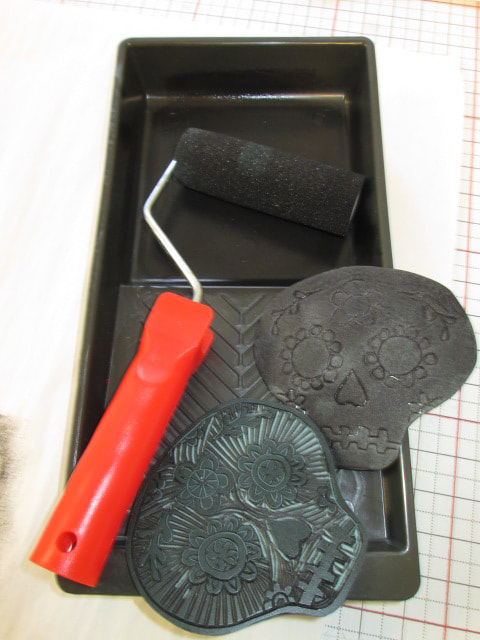
Next, my favourite part - carving the lino block. I also made a second one using childrens' play foam. It is a very cheap and versatile product and makes great stamping blocks in minutes.
Picture
Picture

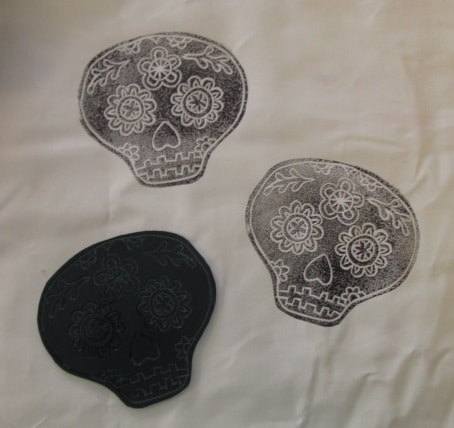
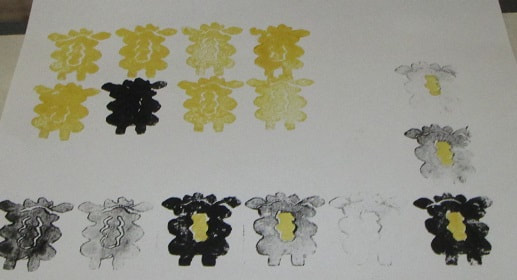
Once they were carved /cut I did a few test prints to make sure I liked the outcome. I used a foam roller and black acrylic paint mixed with a little fabric medium.
Picture
Picture
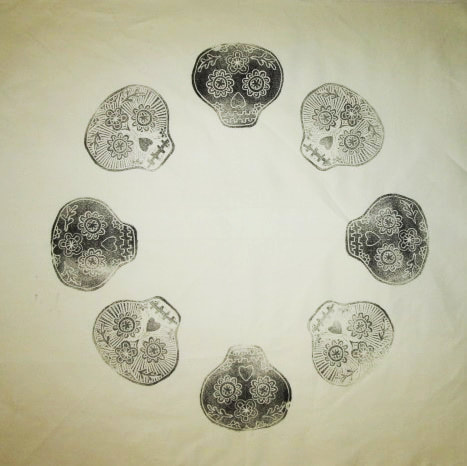
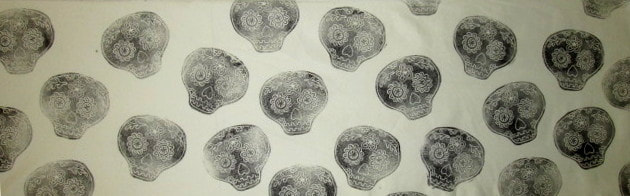
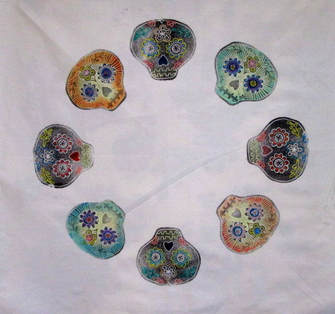
I printed a whole length of fabric with randomly placed skull shapes. I  think I need to add a little colour to the remaining white fabric to make it more appealing.
Picture
I printed a second piece of fabric, this time in a more considered way. I alternated printing with the lino block and the foam stamp to add some variety. As I used acrylic paint it dried very quickly and I was soon able to add more colour with more acrylic paints.
Picture
Picture
Picture
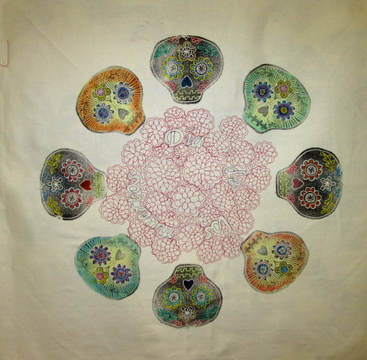
This is how it looked just before I layered it up and quilted it. I layered it with  a medium/heavy weight stiff interfacing and a layer of fabric on the back ready to turn into a bowl.
Picture
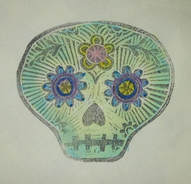
The quilting pattern I chose was a simple daisy flower motif - the same as the flower pattern on the lino block. I decided to only quilt the centre of the fabric and then outline quilt the skulls to hold the layers together.
Picture
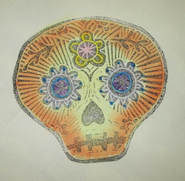
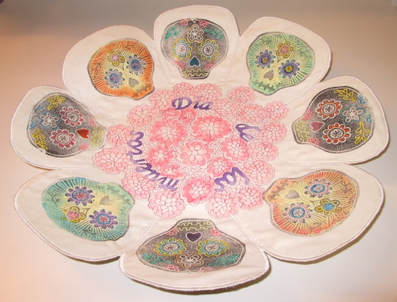
And after adding a little more paint, this is how it finished up. It is more of a shallow dish/ plate than a bowl, but I think it looks very pretty!
Picture

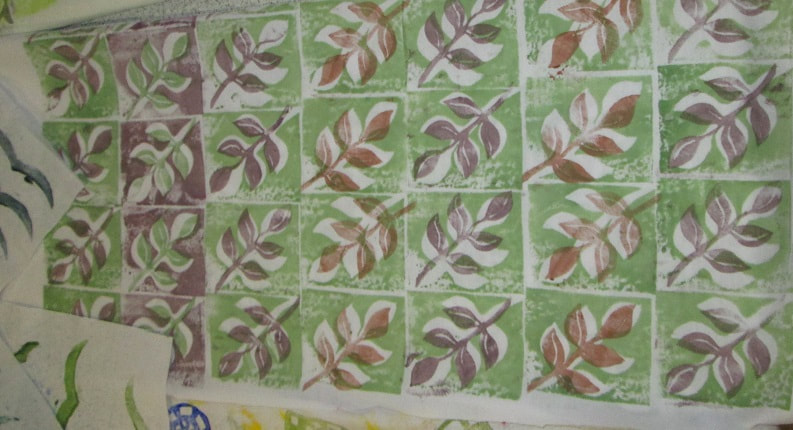
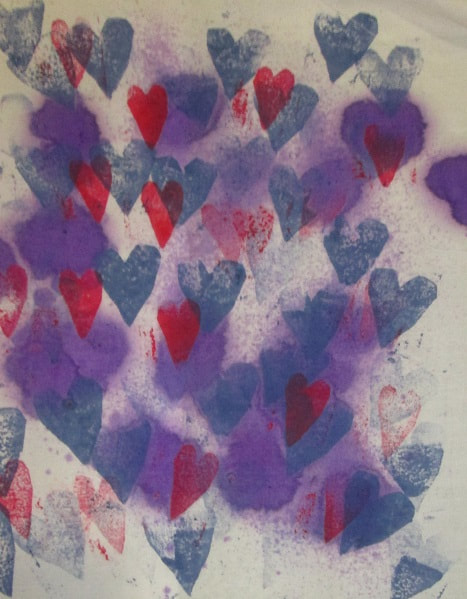
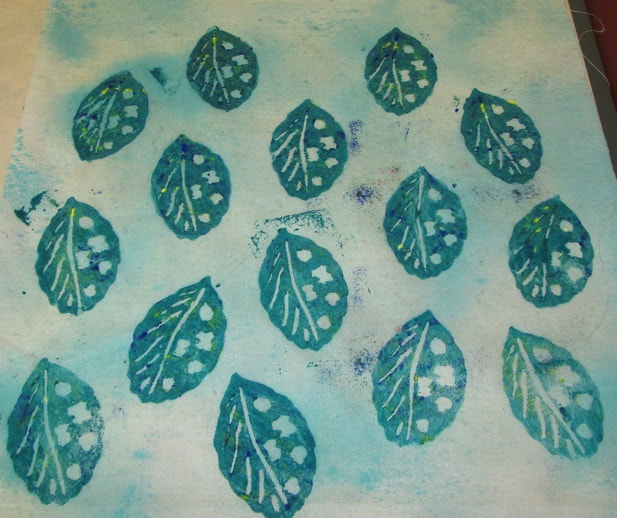
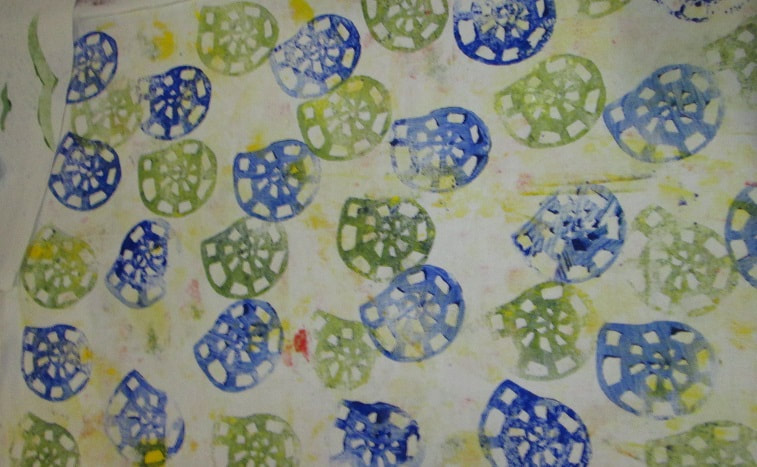
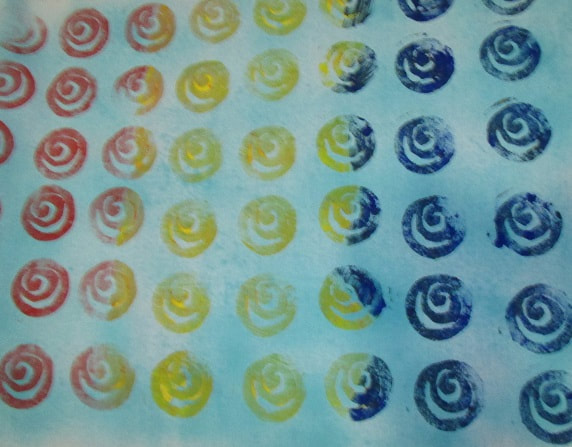
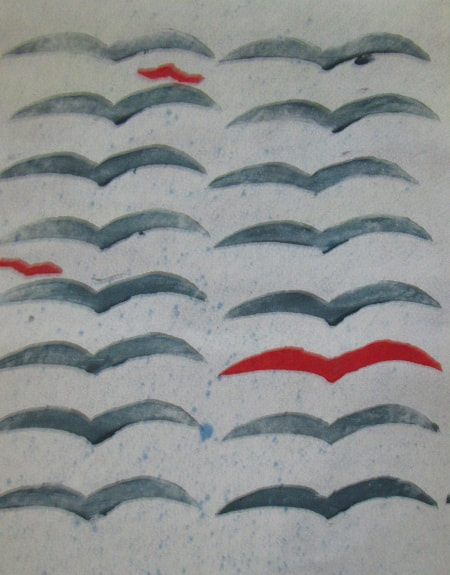
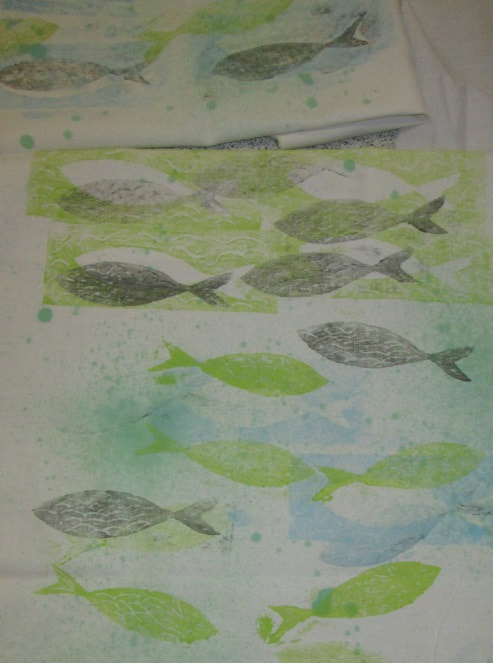
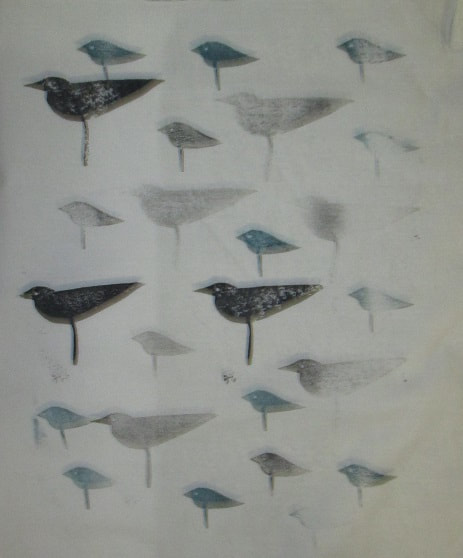
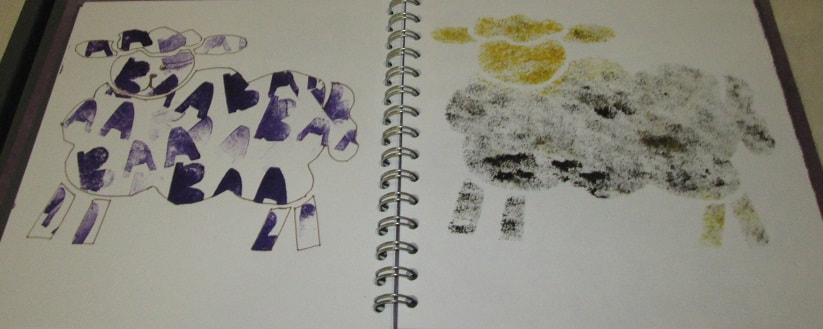
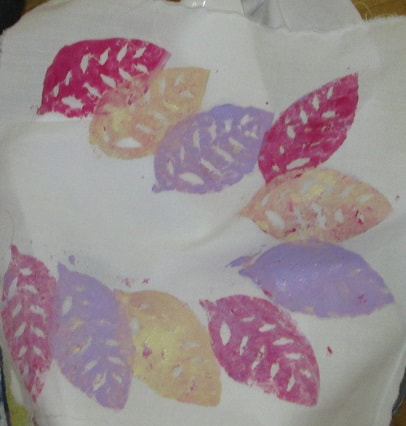
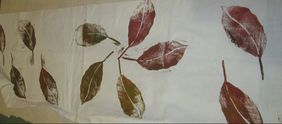
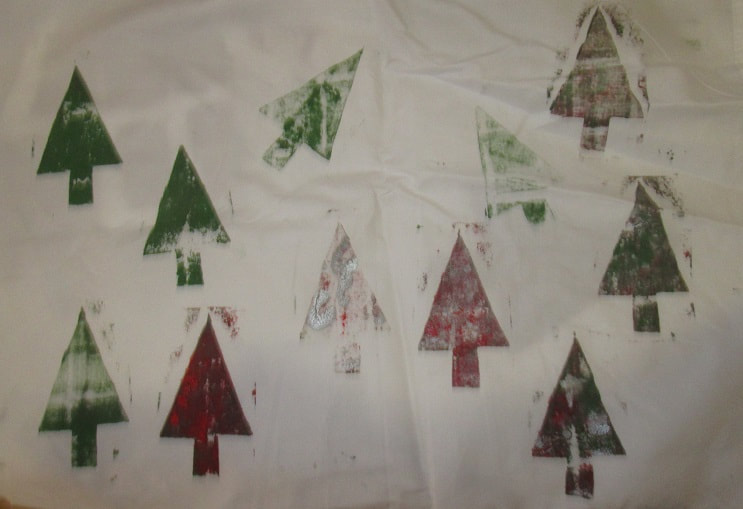
And here is a selection from the work created in the workshop by the ladies of Hardy Quilters, one of whom was just 9 years old. Thanks ladies, I hope you create something great with your fabrics.
Picture
Picture
Picture
Picture
Picture
Picture
Picture
Picture

Picture
Picture
Picture
Picture
Picture
Picture

Thanks for reading.
​
Please feel free to share my website or blog with your friends by using the buttons to the right. If you would like to receive an e mail each time I post a new blog, please click here. I promise to never send you junk or give your address to anybody else.
 

Preparing for things to come

3/10/2017

 
This week has been busy with all sorts of non textile related things - perhaps the most interesting of which was the arrival of 4 ex battery hens. I've been preparing for their arrival for a few weeks, and here they are.............
Picture
Picture
Picture

They have been a fun distraction - but I have also been determined to get myself organised in the studio so I can resume dyeing fabric once again. Dyeing fabric with fibre reactive dyes (sometimes referred to as Procion MX Dyes) is pretty straightforward once all the right 'stuff' gathered together. If all the things that can be pre-mixed are made up at and at hand it is a quick process.

Late last week I began by gathering various containers ready to mix and keep the different solutions I generally use when dyeing. I raided the recycling bin for a nice big bucket with a lid, a large soft drink bottle, several small bottles with lids, a few jam jars and some yoghurt type pots and put them all into an old washing up bowl.

Picture
 
With all that ready I spent a very enjoyable day measuring and mixing the various chemicals so they are all ready when I need them. Before I carry on though, I need to say that I am not someone who dyes fabric by weighing and measuring precise amounts. I have tried to be exact, make notes, make samples, be disciplined; but after about ten minutes I have lost the plot and revert to mixing colours on the hoof with a bit of this and a few drops of that.  I will never be able to exactly replicate a colour if I love it - or if I run out of fabric in that beautiful shade of crimson I dyed last week, but that's ok with me. I think I get more fun and a more exciting range of colours for my work by doing it this way. It is the way I like to do it - it isn't the only way, but I like to be a bit spontaneous and squirt colours together and try them out.

But before I get to the dyes, I also need some other chemicals and solutions to be prepared. These are the 'recipes' I generally use for most of my dyeing work:
Urea Water: (also known as chemical water)
Mix together 8 tablespoons of urea in 1.5 litres of warm water in a bottle and shake until dissolved. It seems to keep indefinitely. 
​
Soda Ash Solution: (also known as pH+) 
Mix together 1 cup of soda ash and 4.5 litres of warm water in a big bucket. I give it a good stir with a wooden spoon until it is all dissolved, then put the lid on. It keeps for ever in my experience.
​
Sodium Alginate thickener: (also known as Manutex or kelp / seawaeed thickener)
Sprinkle 6 to 10g of sodium alginate onto 100ml liquid. You can use plain water, urea water or liquid dye, depending on the result you want. I usually make mine up with urea water. Whisk it together and leave to stand for at least 15 minutes. I put it into a jar and store it in the fridge. It keeps for a month or too before it goes stinky. 
Fibre Reactive Dyes: (also known as Procion MX)
I like to make up small batches of dye (100ml to 200ml at a time) so that I have some ready to use at a moment's notice. I keep it in small bottles with the lids firmly closed. I label each colour so I know exactly which is which - sometimes the colours can be deceptive!
I like to make up fairly concentrated dyes so I can dilute them if necessary. Some people believe the dyes 'go off' or lose their oomph once mixed, but I haven't found any issues with dyes I have made up and used even a month or so later. So long as there is no soda ash in the dye mixture they seem to last at least a few weeks - if not longer. 
I use 1 heaped teaspoon of dye powder and 2 teaspoons of salt for every 50ml of warm liquid for my concentrated dyes. The liquid is either urea water or plain water. It needs a lot of stirring to get the dye powders fully mixed and sometimes not all the powder will go into solution. I find yellow to be particularly difficult. If that is the case I usually use just plain water and which is just off boiling point. I dissolve the salt in that first, then allow it to cool a little until it is hand hot. Then I add the yellow dye powder and stir and stir and stir. Eventually most of the dye powder goes into suspension, but often settles out once the dye stands. I just give it a huge shake before using and that usually does the trick. Any tips on dealing yellow are much appreciated!!!

SAFETY FIRST:
1. Although not all the chemicals require you to wear gloves and/or a mask whilst you are handling them I find it is just easier to put them on whilst working with the various powders and not worry about forgetting to do so. That way you know you are covered!

2. Remember that any utensils or containers used with these chemicals should never be used for food use. Get yourself a collection of utensils and containers that you only use for dyeing - charity shops are great places to gather such stuff.

3. Label everything really clearly with the name of the contents and date - Manutex really stinks when it goes off!
Picture

With all that prepared I will be able to dye any fabric I want in just a few minutes - with no need to get everything out and mix it all up from scratch (although sometimes that is nice to do too, especially if a big batch of something is required!)

​

And finally.............starting work on a project at last!


I need some 'wood-like' fabric. In 4 pots I mixed up some of the alginate paste with dye concentrate and soda ash solution - each pot has a different colour dye. Once the soda ash goes in the clock starts ticking! Around 4 hours is the advised time you have to work with the dye, although I find the working time lasts much longer in the cool British climate!

4 big paintbrushes and some bold brush strokes later - this was the result. 
Picture
I made 3 large pieces of fabric, rolled them in a huge sheet of plastic and left them to sit in a warm room overnight (called batching).
In the morning I unrolled them, rinsed them in the sink with tepid water to get rid of the excess dye and then put them into the washing machine on a hot wash. And this is how they turned out. 
Picture
Picture
Picture
So, now I need to figure out what to do with them next!

​But while all that was going on, look what else happened.......................................
Picture
Thanks for reading.
Please feel free to share my website or blog with your friends by using the buttons to the right. If you would like to receive an e mail each time I post a new blog, please click here. I promise to never send you junk or give your address to anybody else.
 
    Picture
    Picture
    Picture
    Picture


    Click here if you would like to receive an e mail when I add a new blog post.
                       OR

    Follow my blog with Bloglovin
    Picture

    Categories

    All
    Challenges
    Classes
    Colour
    Cool-ideas
    Courses
    Designing
    Doodling
    Dye
    Exhibitions
    Experimenting
    Festival-of-quilts
    Flower-bowls
    Gelli-plates
    Hanging-sleeves
    How-to
    Inspiration
    Line
    Lino Blocks
    Making
    Marbling
    Mending
    Mono Printing
    Mosaic
    New-products
    Purchasing
    Quilt Gallery
    SAQA
    Sew On The Go
    Sketchbooks
    Software
    Stencils
    Stitch
    Surface Design
    Talks
    Thread
    White Horses
    Workshops
    Yarn Bobming

    Archives

    December 2020
    September 2020
    August 2020
    July 2020
    May 2020
    February 2020
    December 2019
    October 2019
    September 2019
    July 2019
    May 2019
    March 2019
    February 2019
    January 2019
    December 2018
    November 2018
    September 2018
    August 2018
    July 2018
    June 2018
    May 2018
    April 2018
    March 2018
    February 2018
    January 2018
    December 2017
    November 2017
    October 2017
    September 2017
    July 2017
    June 2017
    May 2017
    April 2017
    March 2017
    February 2017
    January 2017
    December 2016
    November 2016
    October 2016
    September 2016
    August 2016
    July 2016
    May 2016
    April 2016
    March 2016
    February 2016
    January 2016
    December 2015
    November 2015
    October 2015
    September 2015
    August 2015
    July 2015
    June 2015
    May 2015
    April 2015
    March 2015
    February 2015
    January 2015
    December 2014
    November 2014
    October 2014
    September 2014
    August 2014
    July 2014
    June 2014
    May 2014
    April 2014
    March 2014

    RSS Feed

    Picture
    Picture
Powered by Create your own unique website with customizable templates.