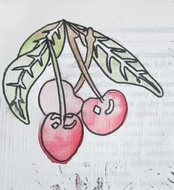
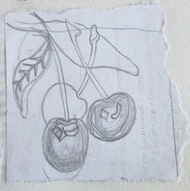
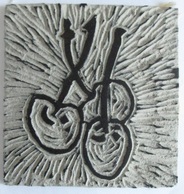
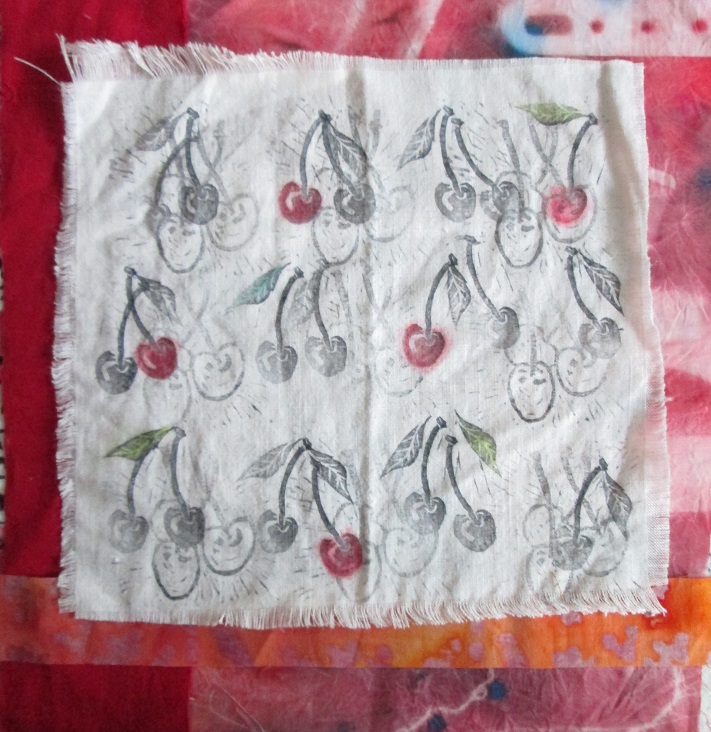
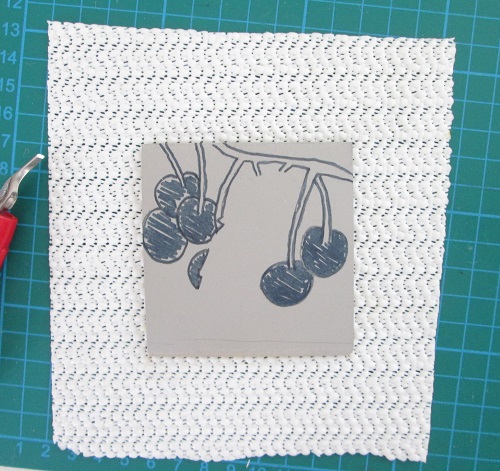
I really enjoy carving lino blocks and I am now usually able to make one without bleeding too much. I bought some small squares of lino a year or so ago, and then forgot all about them. I then bought some easy-carve type squares and made several nice blocks with them. They cut like butter. If you have the choice - go for these. Softer still are cheap erasers - they are just a bit small - but wow - you could cut these with a spoon (not really, but you get what I mean). Fast forward to a few days ago. Whilst cleaning out my supplies boxes I found those old lino squares. They are a little dry and crumbly when compared with the smooth as silk easy-carve, but never one to waste things, I decided to carve a block right there and then. I made a small and simple drawing of 3 cherries, traced it and transferred the outline to my lino square. After carefully cutting it out, this is how it looks.
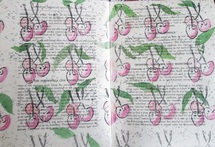
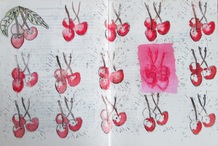
When it was finished I made a few test prints, tidied up the last few bumps and then printed several pages in my sketchbook. I made a rubbing too.
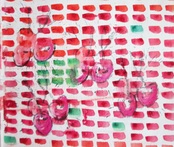
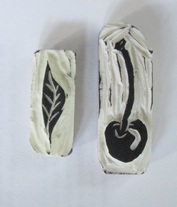
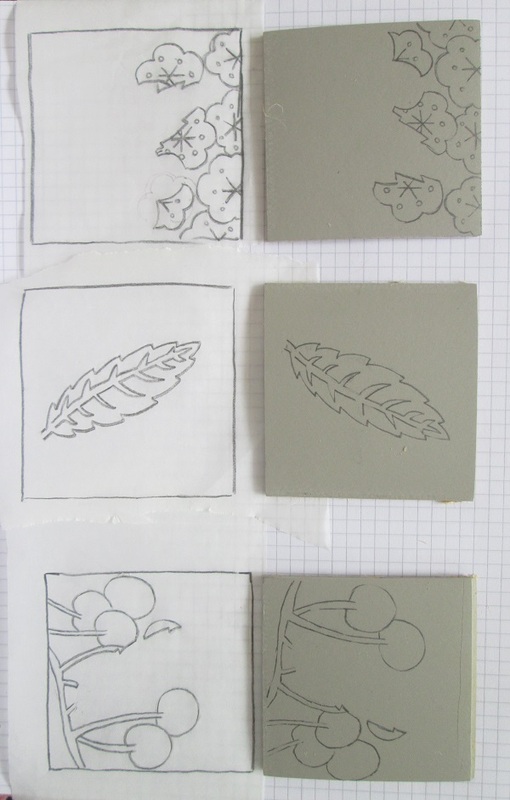
Next I found two old erasers. One was a little crusty at the end, so I chopped it off. I drew a single cherry and carved it in less than a minute. Wow - these things are easy to cut! Next I drew a little leaf, and quick as a flash, cut away the exterior. Now I had a cherry and a leaf to play with.
Top tips for cutting lino blocks
I hope you give lino cutting a try - it is quick and easy and you can create your own motifs and print with ink, dye, acrylic paint, ink, household bleach, decolourant or anything else you can think of. You can also make rubbings - so you get 2 for one with these!
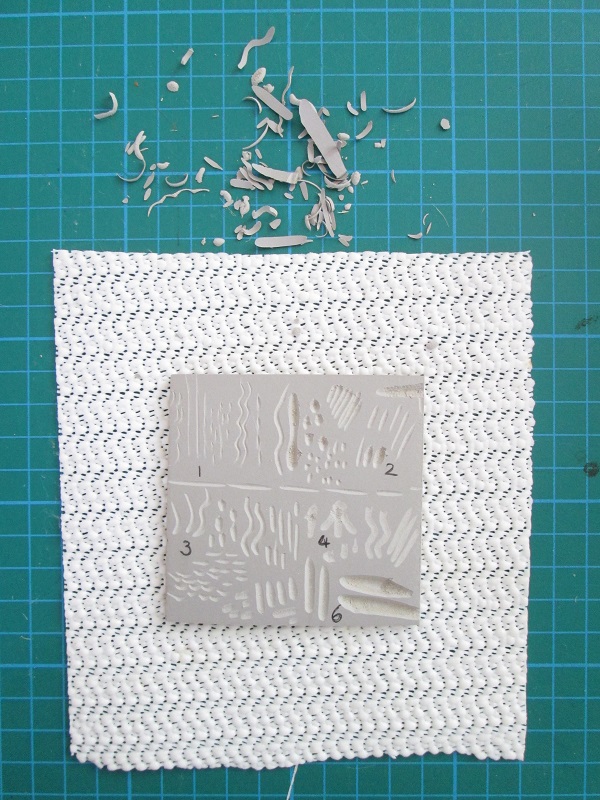
I have no idea yet what I will do with these small stamps - but watch this space! Comments are closed.
|


|