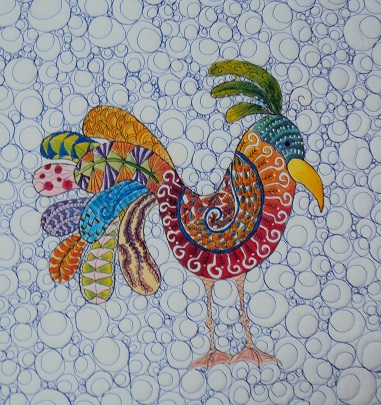
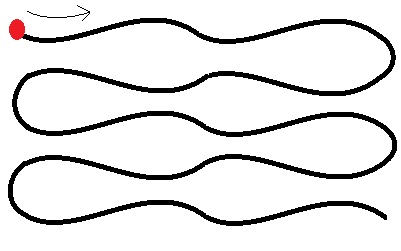
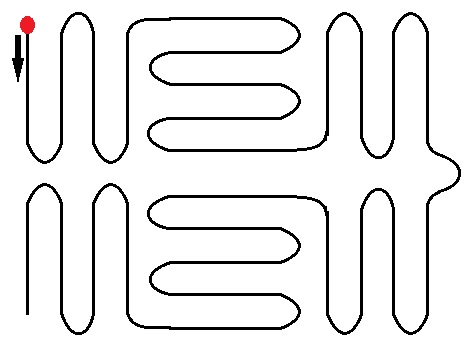
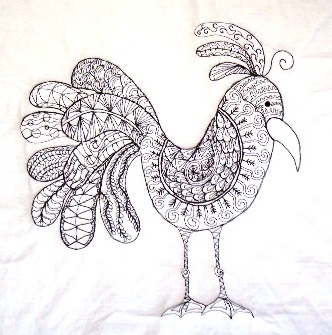
 Doodle bird unpainted. The lines are created with thread Doodle bird unpainted. The lines are created with thread This small panel is a 12 inch square that has been created solely with thread and paint. I made it using lots of different free motion quilting patterns and black thread. This is how the square looked before I painted it. The black lines are stitches. I first drew the outline shape of the bird onto paper, then traced this onto a piece of white cotton fabric with a water soluble marking pen. Using this as the quilt top, I made a traditional quilt sandwich by placing a piece of batting behind the top layer and another piece of cotton fabric on the back. I then put black thread onto my machine and in the bobbin, dropped the feed dogs and free motion quilted as many different patterns as I could think of inside the bird shape; and this is how it turned out. Once it was finished I painted it with fabric paints - like a picture from a child's colouring book. Like most things in life, when you begin to learn something it can see difficult, too difficult to master. I remember when I first started learning to drive. There was so much to do all at once and I thought I would never master it. Fortunately, free motion quilting is like a walk in the park when compared to learning to drive! If you take things slowly, plan your work, prepare your machine and practise, you will soon be free motion quilting your own quilts, instead of paying someone else to do it for you. So, here are my top tips to getting started.... first things first... Like most things in life, a little preparation goes a long way. Before you even sit in front of your machine there are a few things you can do to make sure you give yourself the best chance to succeed. 1. To begin with, choose a simple design. Something with gentle curves to help you build a nice rhythm and gain confidence. Here are a few very simple suggestions.
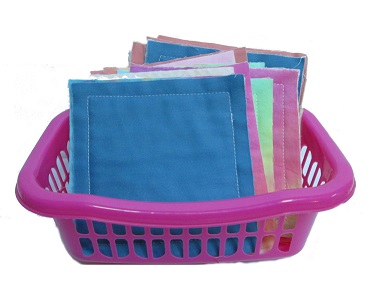
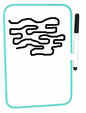 2. Practise drawing your design on a piece of paper or a wipe off board, lots. You are aiming to get your hand movements smooth, flowing gently as you draw. What you are actually doing is teaching your brain the pattern, so keep on practising until you feel you have really got the pattern into your head. 3. Prepare some small squares of fabric that are ready to be quilted. Choose an inexpensive fabric (old sheets are useful; they don't have to be 100" cotton), and cut up lots of small squares. I use squares roughly 6" in size and find this is enough to practise with. If you want them to be a little larger then that is fine. I keep a small basket of them next to my sewing machine so that I can quickly try out a design or warm up before I quilt the real thing.
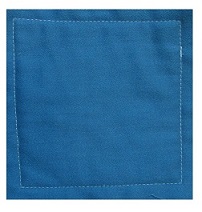
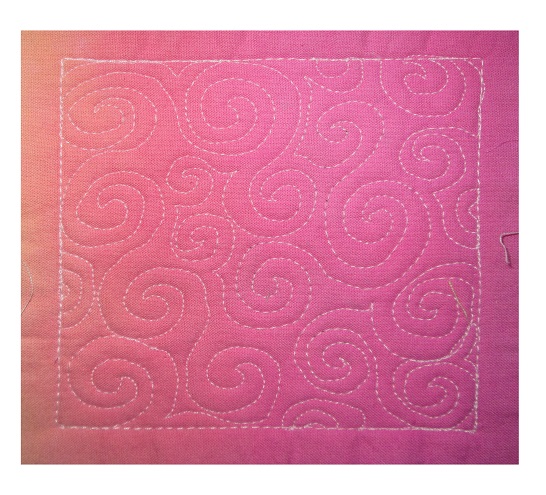 Make a small sample square with the pattern you have been drawing Make a small sample square with the pattern you have been drawing This is one of the small squares from my collection - I have hundreds of them! Now the squares sit in a folder and have turned into a great resource for when I want to see how a quilting design might look on part of a quilt. I just get out the squares and place them onto the un-quilted top and I can immediately see if the design might work or not. The nice thing about building up a resource like this is that I have learned and perfected a new skill along the way. When I first started out my quilting lines were not smooth or regular, and I moved the fabric about in a jerky fashion. Little by little, as I practised on these squares I became more confident and less tense until I arrived at the stage where I could quilt pretty much anything I wanted. 4. One further thing to do in preparation - when was the last time you cleaned your machine? If you do this regularly, then I expect you probably don't suffer from many problems with your stitching. It never ceases to amaze me how much fluff and how many stray bits of thread end up down in the bobbin zone. At least a few times a week I unplug my machine and remove the whole bobbin mechanism to give it a good clean out. I use a small soft paintbrush to remove those stubborn bits from deep inside the machine. Look in the handbook that came with your machine if you are uncertain how to get access to this area. Usually, if my machine starts to miss stitches or stop running smoothly this is the main culprit, and a quick swish with the paintbrush usually does the trick! In my next blog post I will outline my tips for getting great results, and things to try should you still find problems. So, if you have some spare cheap fabric, why not make up a few squares to practise on. I promise you, you will begin to love Free motion quilting like my friend!
Hello L,
Hi again, Lorraine, Comments are closed.
|


|