CLAIRE PASSMORE textile artist

Messy marbling for a mini quilt inspired by Monet 

28/7/2016

 
Picture
'Grandmother's Flower Garden' by Anna
Picture
'Not my Grandmother's Flower Garden' by Claire
Picture
'Not my Grandmother's Garden either' by Claire
Picture
'Not Monet's Lily Garden' by Claire
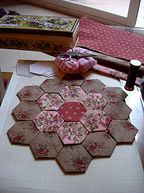
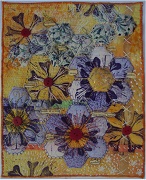
I decided to make a little quilt this week for the workshop I am teaching on Sunday at Midsomer quilting. The workshop is called 'Not my grandmother's garden' and is very loosely based on the very traditional quilt made solely from hexagons - just like the first picture up above on the left. The first piece of patchwork I ever made (when I was 11 years old) was just 7 hexagons big, and I must say, it didn't inspire me to carry on with patchwork at that time. Too many fiddly bits for an impatient eleven year old! However, several years ago I made the yellow quilt (above) for a Quilting Arts Magazine challenge, and used the traditional hexagon quilt as the starting point. Hopefully you can see the hexagonal 'flowers' behind all the paint, thread and buttons. 

For this weenend's workshop we will be using hexagons (well..... maybe!) as the starting point to create an art quilt something along the lines of the yellow quilt above. I wanted to explore different possibilities, so I made a further two quilts to try out a few more ideas (see images above). The green one is similar in many ways to the yellow one, and the last one doesn't use hexagons at all - but Suffolk Puffs, another very traditional and English patchwork piece (currently known by the more funky name 'yoyos'). Thanks to Jamie Malden for sharing her 'how to' video on youtube on the right.
​
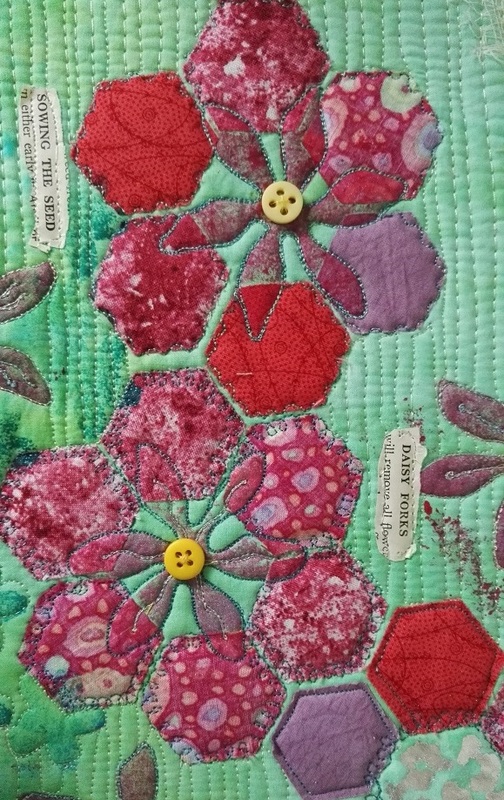
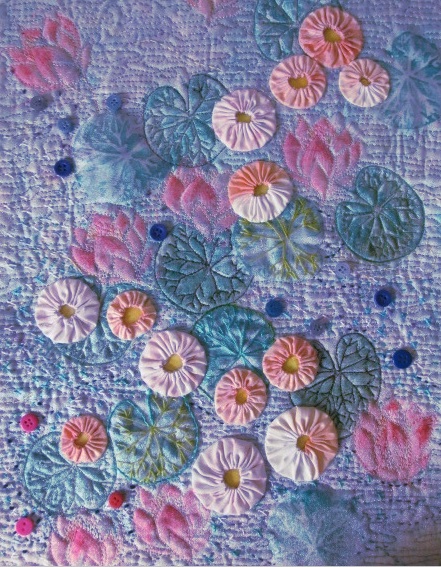
The inspiration for this last quilt came from one of Monet's paintings of the waterlily ponds at his home in Giverny. The top section of the green quilt reminded me of a watery pond, and made me think of Monet. Changing the shape of the hexagonal flower into a rounded flower is the sort of variation I was looking to explore for the workshop. It also meant I learned another new patchwork technique - Suffolk Puffs. 
​
Picture
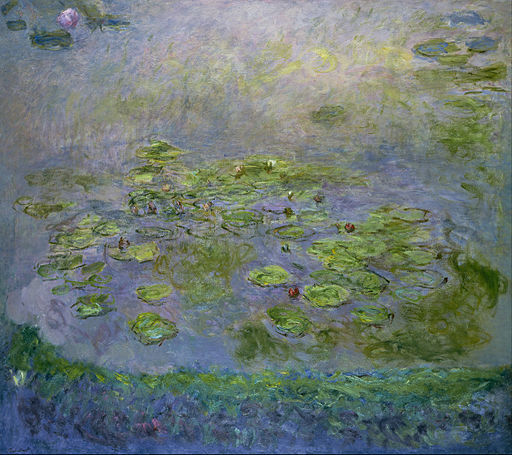
Nymphéas (Waterlilies), 1914-1917, National Gallery of Australia
 
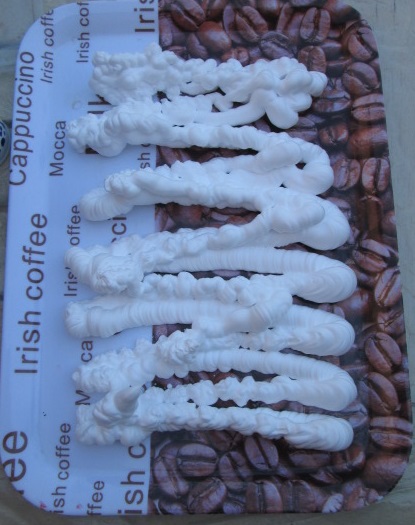
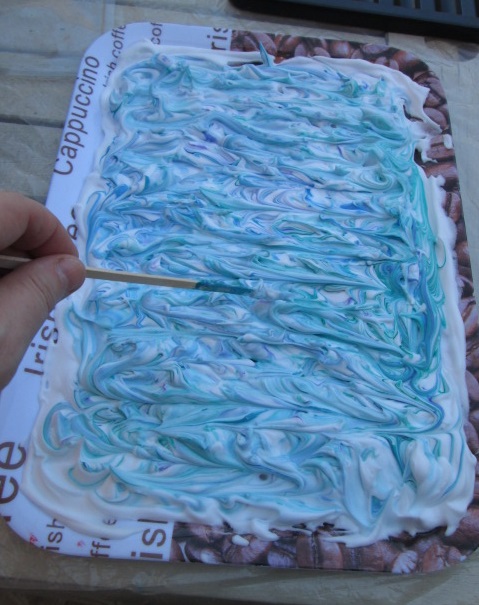
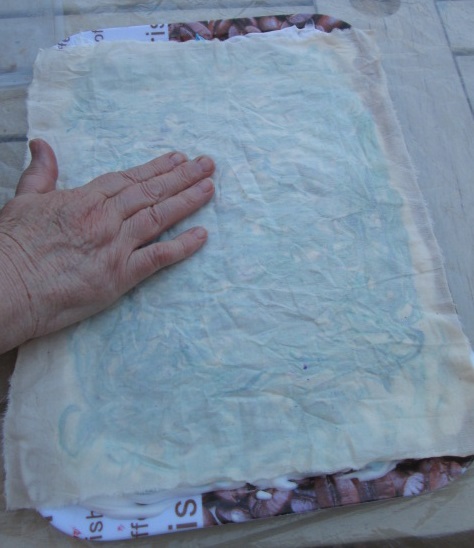
To make my version of the lily pond I needed to start with a watery blue background fabric - but my stash of such fabrics is rather depleted at the moment, so I needed a quick way to make a suitable piece. I decided to try my hand at marbling with shaving foam, as I believe it is quick and easy (nobody ever seems to mention how messy, however!). 

If you haven't had a go at this technique it really is fun - but I do recommend wearing an apron and having lots of newspaper and a large bucket of water and a bin at your side!
(Arthur Comstock - a little bird told me that you love the gelli plates, so I think you might like to have a go at this too!)

This is what I did...

Picture
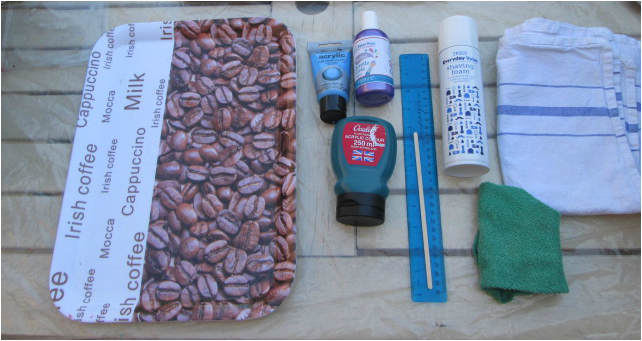
You will need: a tray or other flat surface, cheap shaving foam, acrylic paint, a big and a small scraper (ruler and a credit card), a stick, cloths, bucket of water and a bin
Picture
1. Squirt out lots of shaving foam onto the tray.
Picture
4. swirl it about with a stick
Picture
6. Lift the fabric up and lay on a flat surface, foam side upwards.
Picture
2. Spread it out with a credit card.


​
I discovered that the paint took up better onto fabric that was moist (not soaking wet). I got the best results when I misted the fabric with water from a spray bottle and let it sit for about ten minutes to penetrate the fibres.


​
Picture
7. Use a ruler to scrape off the excess foam from the fabric.
Picture
3. Add some spots of acrylic paints. You don't seem to need a lot.
Picture
5. Lay a piece of damp fabric on top and pat down gently all over.
Picture
8. Allow to dry. Press with a hot iron covered with a piece of paper. Wash if required.
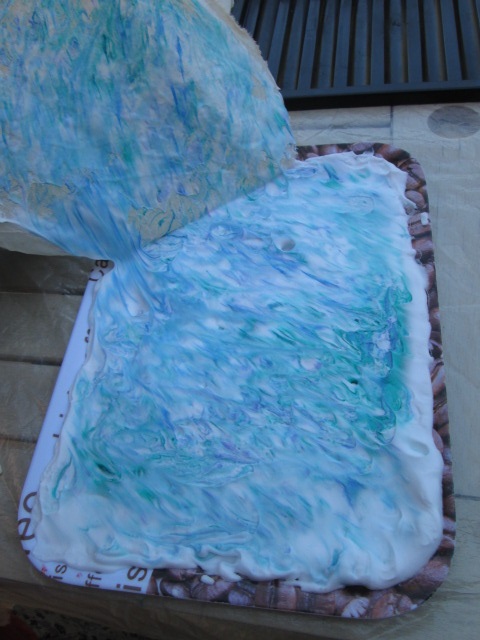
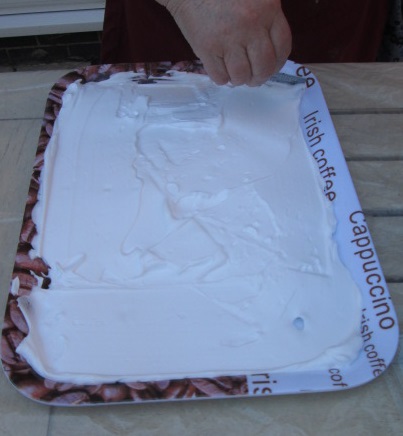
The shaving foam on the tray can be used several times, spreading it out again and adding more paint. My foam did start to break down and 'curdle' after a while, so when that happened I scooped what was left into the bin and started again. 

The whole process took less than 3 or 4 minutes per piece of fabric,  so was a quick project which yielded several very nice pieces of fabric, each a little different.
​
I'll add some photos of the quilts made at the workshop as soon as I can.

​Thanks for reading.
​
Please feel free to share my website or blog with your friends by using the buttons to the right. If you would like to receive an e mail each time I post a new blog, please click here. I promise to never send you junk or give your address to anybody else.
 
    BACK TO WEBSITE


    Click here if you would like to receive an e mail when I add a new blog post.
                       OR

    Follow my blog with Bloglovin
    Picture
    Picture
    Picture
    QuilterBlogs

    Categories

    All
    Challenges
    Colour
    Cool-ideas
    Courses
    Designing
    Doodling
    Dye
    Exhibitions
    Experimenting
    Festival-of-quilts
    Flower-bowls
    Gelli-plates
    Hanging-sleeves
    How-to
    Inspiration
    Line
    Lino Blocks
    Making
    Marbling
    Mending
    Mono Printing
    Mosaic
    New-products
    Purchasing
    Quilt Gallery
    SAQA
    Sew On The Go
    Sketchbooks
    Software
    Stencils
    Stitch
    Surface Design
    Talks
    Thread
    White Horses
    Workshops
    Yarn Bobming

    Archives

    October 2019
    September 2019
    July 2019
    May 2019
    March 2019
    February 2019
    January 2019
    December 2018
    November 2018
    September 2018
    August 2018
    July 2018
    June 2018
    May 2018
    April 2018
    March 2018
    February 2018
    January 2018
    December 2017
    November 2017
    October 2017
    September 2017
    July 2017
    June 2017
    May 2017
    April 2017
    March 2017
    February 2017
    January 2017
    December 2016
    November 2016
    October 2016
    September 2016
    August 2016
    July 2016
    May 2016
    April 2016
    March 2016
    February 2016
    January 2016
    December 2015
    November 2015
    October 2015
    September 2015
    August 2015
    July 2015
    June 2015
    May 2015
    April 2015
    March 2015
    February 2015
    January 2015
    December 2014
    November 2014
    October 2014
    September 2014
    August 2014
    July 2014
    June 2014
    May 2014
    April 2014
    March 2014

    RSS Feed

    BACK TO WEBSITE
Powered by Create your own unique website with customizable templates.