|
A new week - a new quilt.
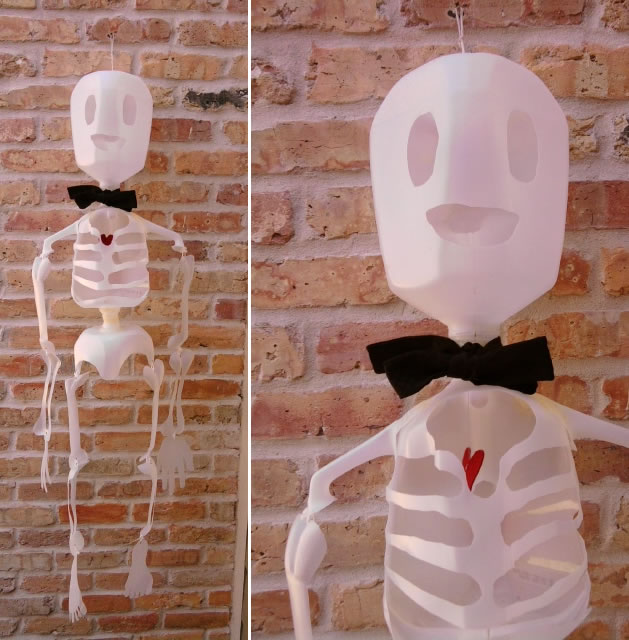
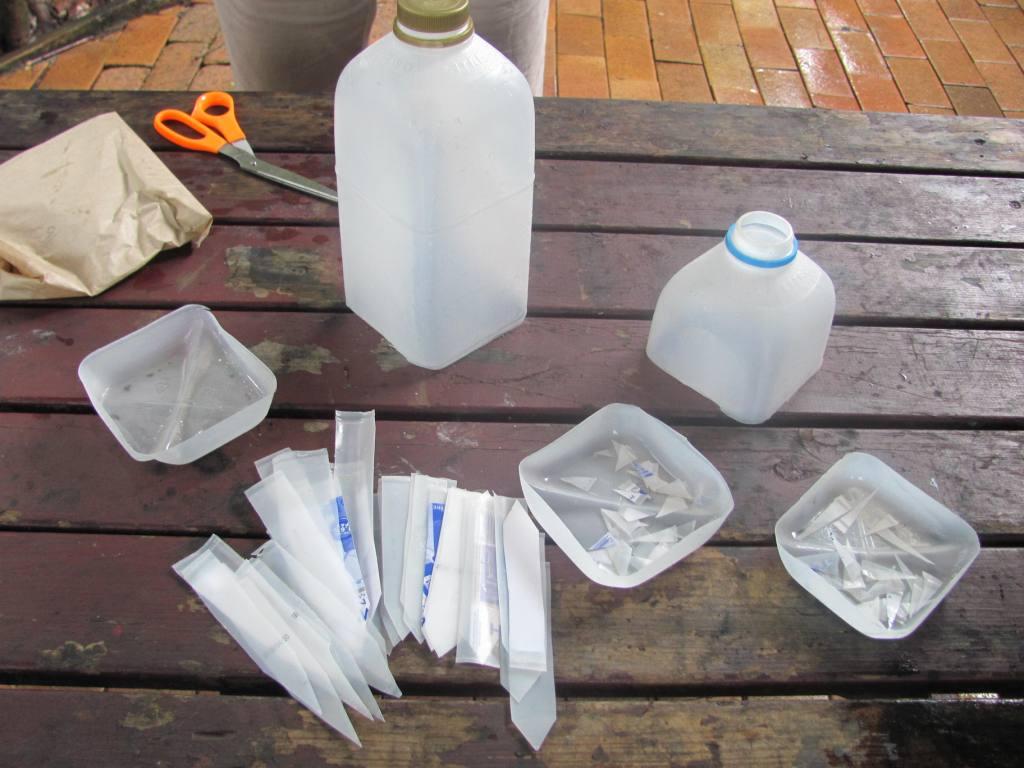
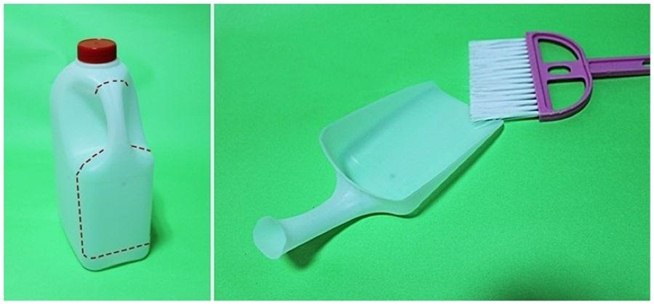
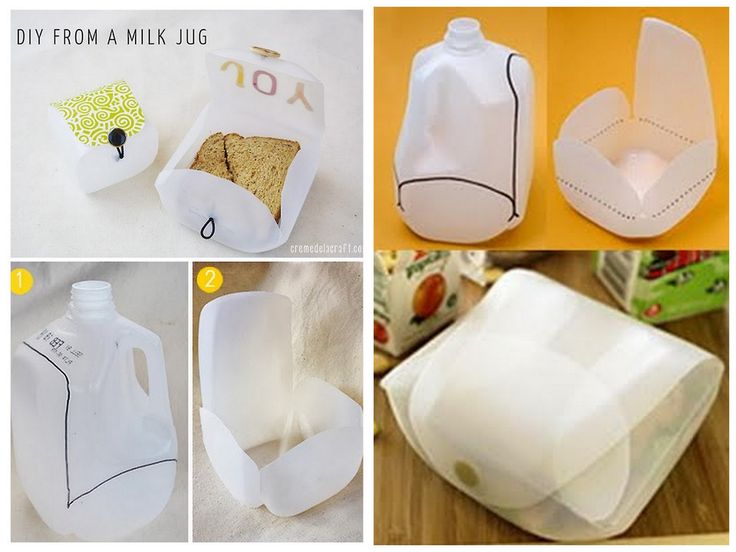
Now that the roses quilt is finished I have moved on to the next quilt idea which has been buzzing around inside my head for a while. This one concerns credit - and more specifically credit cards. I wont relate the story behind this quilt just yet, (I'll save that for another day once I make a bit more progress with the quilt) but instead I want to share an idea I had for recycling plastic milk bottles. I don't know about you, but I end up with a lot of plastic milk bottles in my recycling bin each week. Not only are they quite bulky, (even when squashed down) but it just seems wrong to throw them away. They seem too 'good' to just use once and then discard into landfill (and although 72% of bottles were recycled in 2010 in the UK, 20,000 tonnes were sent to landfill) . So, I keep them. But when you have a bag full and then a box full - what do you do? There are lots of ideas on the internet for how to use them - do a search and you will be amazed. These are a few of my favourite ideas......
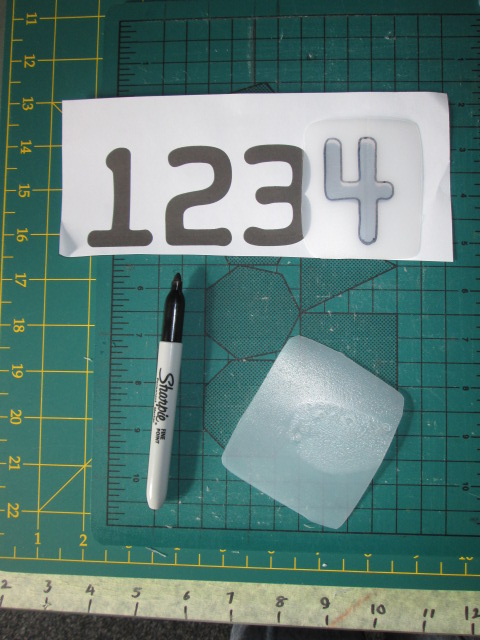
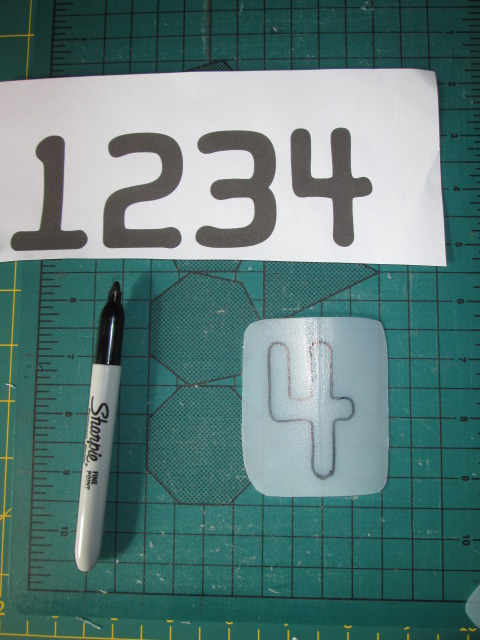
....back to the quilt (but I do love that skeleton)...... My idea for the quilt requires that I put numbers onto the fabric using a font similar to that found on credit cards. Finding different fonts on the internet is easy - and once you find the one you like, download it to your computer. Using something like MS Word you can then write what you want and resize the characters to suit your needs. This is how I created the digits below. 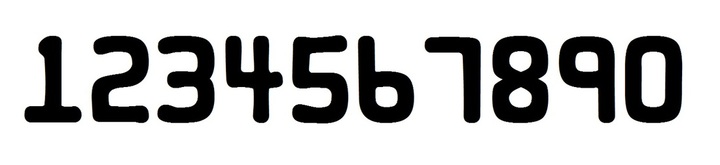
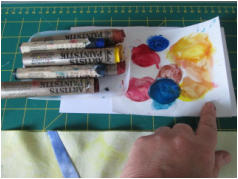
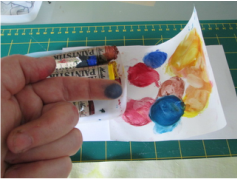
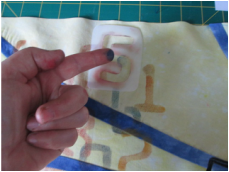
To apply the numbers to the fabric I chose to stencil them on using Markal paintsticks. I like these as when you apply them lightly they provide a hint of colour - which is the effect I was after.
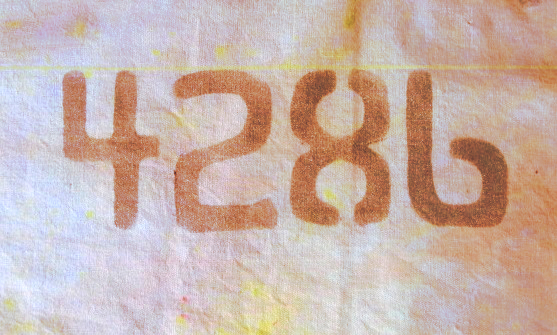
Gold Markal paintstick, lightly applied using a stencil and my finger
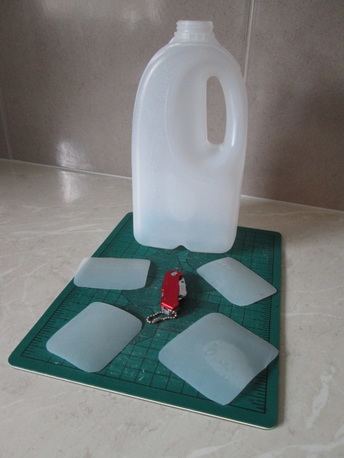
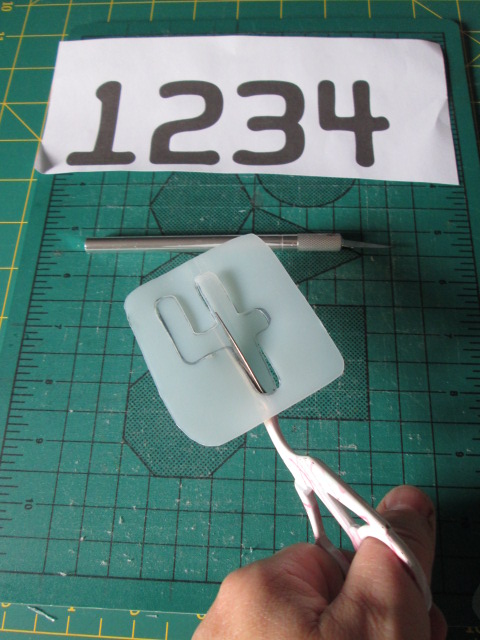
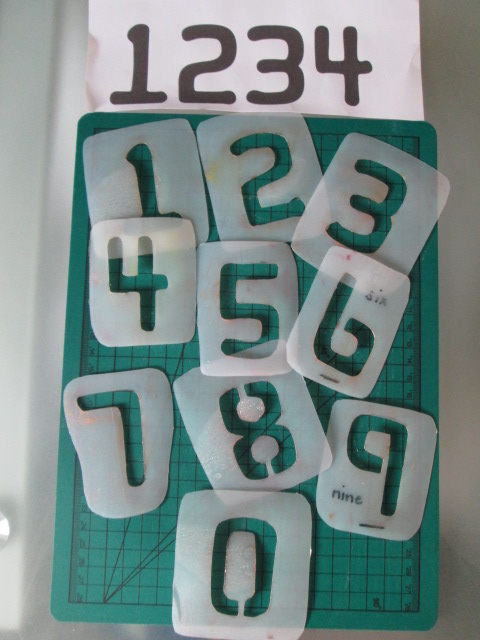
In the past, when making stencils for a one off project I usually choose freezer paper as it is easy to cut and has the benefit of being able to be ironed to the fabric. This stops the stencil from moving about as you apply the paint (or whatever you are using) and limits seepage under the edges of the stencil. One drawback, however, is that they aren't really all that robust, and easily tear after a few uses, especially when the stencil has fine detail or bridges and islands like the number 8 above. As numbers can be quite useful in lots of contexts I may well use these stencils again in the future, so thought it might be a better idea to spend the time cutting them from something more robust. Stencil plastic is the obvious choice, and I have also used laminating sheets in the past to make very good stencils, but I don't have either of those to hand at the moment. So I started to look around to see what else I could find - and that is when I remembered the box of bottles. Bingo! As it turns out, the slightly opaque HDPE plastic makes a fabulous material from which to cut stencils as it is possible to see through the stencil edges, making placement easy.
A word of caution
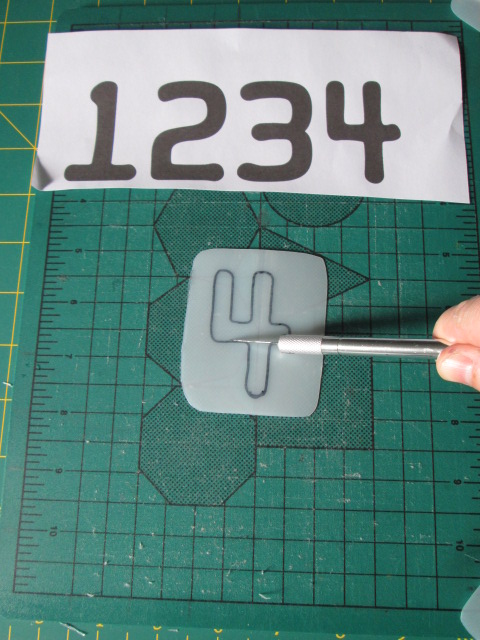
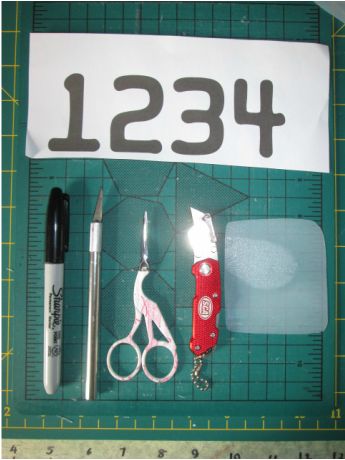
I used a craft knife and an old pair of small scissors to cut through the plastic. I also used an old cutting mat to protect the table and took great care when using the knife. TAKE GREAT CARE WHEN CUTTING THROUGH THE PLASTIC AND MAKE SURE YOU TAKE THE NECESSARY PRECAUTIONS WHEN USING SHARP BLADES. Blood on stencils never looks good.
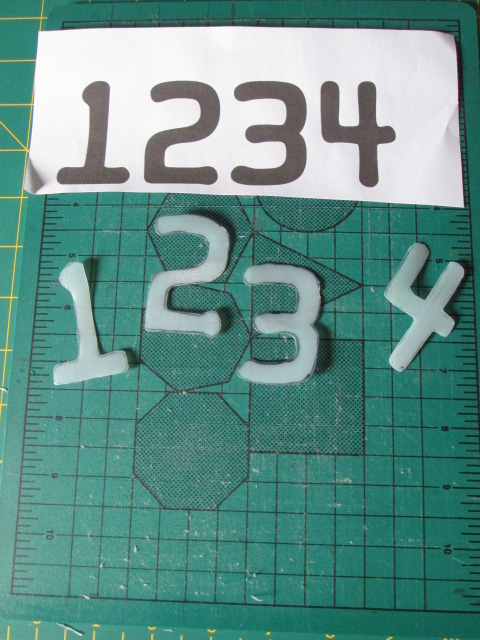
All in all it probably took me about an hour to cut out all 10 digits, not much longer than it would have taken had I just cut the stencils from freezer paper. For this set of stencils I used 3 bottles, and since I had lots more I made a little box to keep them in. I couldn't resist it. Click on the photo on the right to go to the tutorial I used.
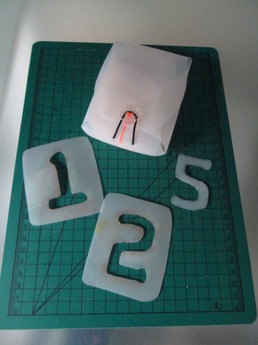
Below are a few pictures of the fabric embellished using the stencils with a selection of Markal oil stick colours.
I can see no reason why other recyclable materials could also be useful for stencil making, but the HDPE milk cartons certainly work well. (After a little further investigation I have discovered this type of plastic can be easily transformed into other shapes by melting and reforming it. With a little care it is safe to do as the melting point is around 180 decrees c - and no fumes are given off at this temperature. Try an internet search - you will be pleasantly surprised I am sure!) Thanks for reading. If it turns out well I will keep you posted as to how this quilt develops. By the way.... I have recently created a Facebook page where I will be posting information on my current workshops and other quilt related interesting things. If you would like to follow the page I have a link at the bottom of the page. Alternatively you can click here to go to the page and then click LIKE.
|


|